How to add a group and manage group members
groupsgroup lessonsensemble groupsstudentsenrolments
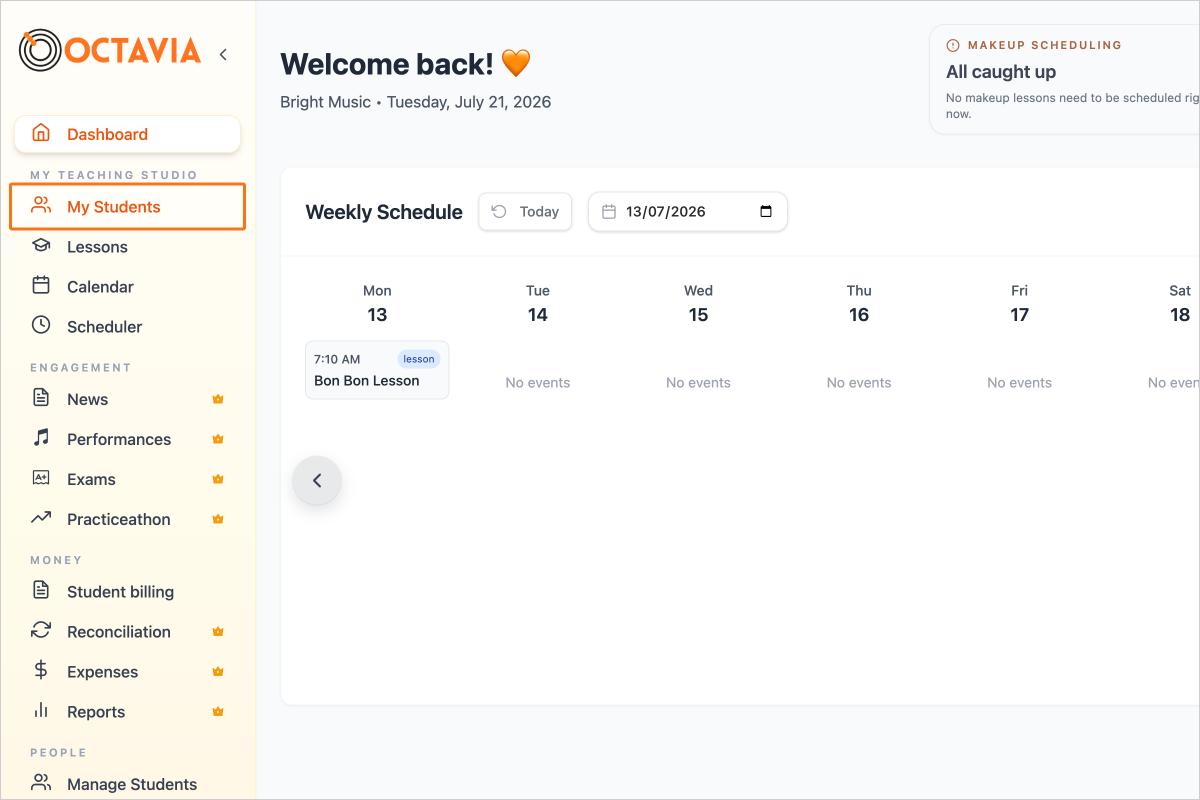
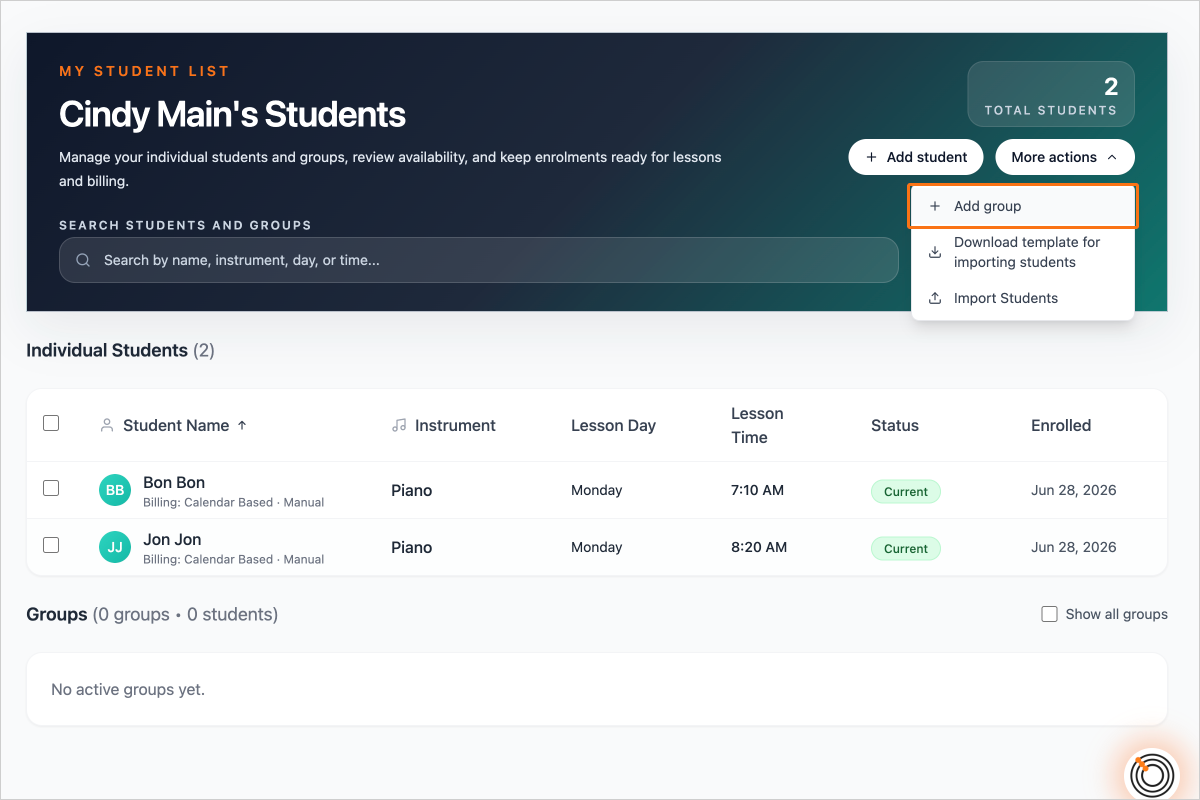
To add a Group, navigate to "My Students"
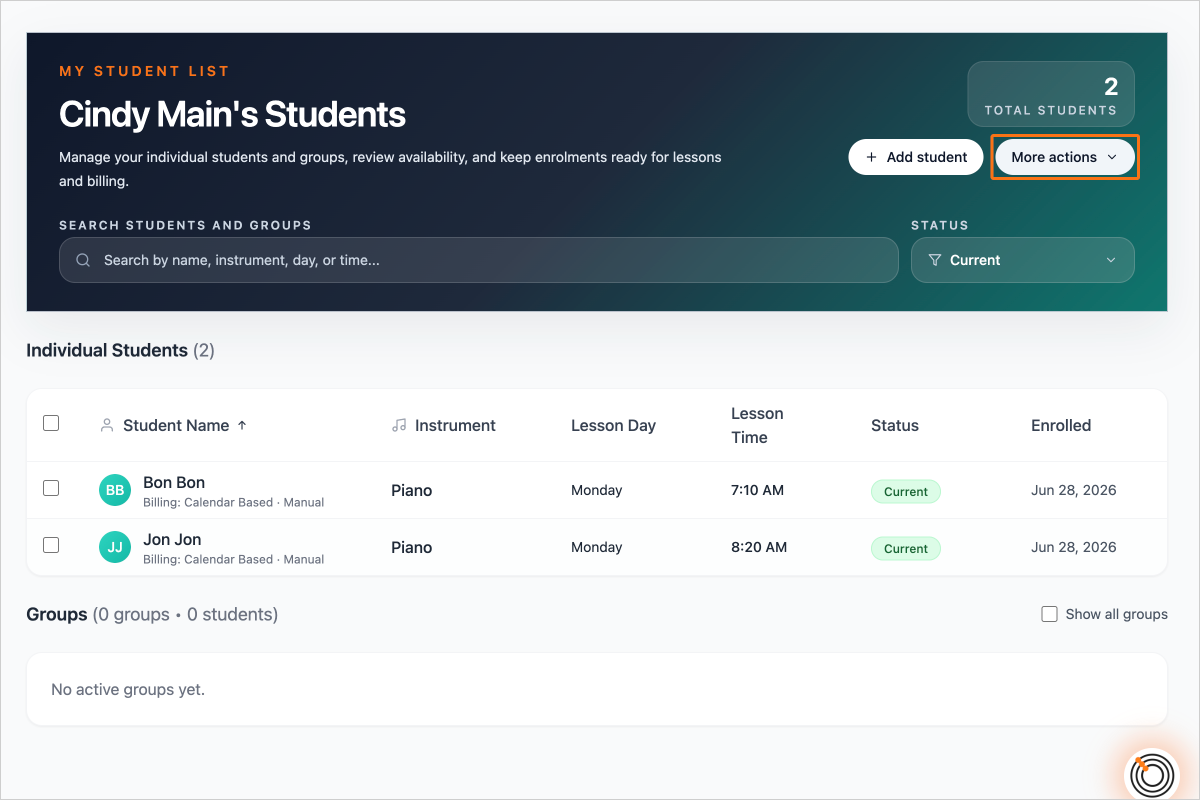
Click on the button "More actions"
Click on the button "Add group"
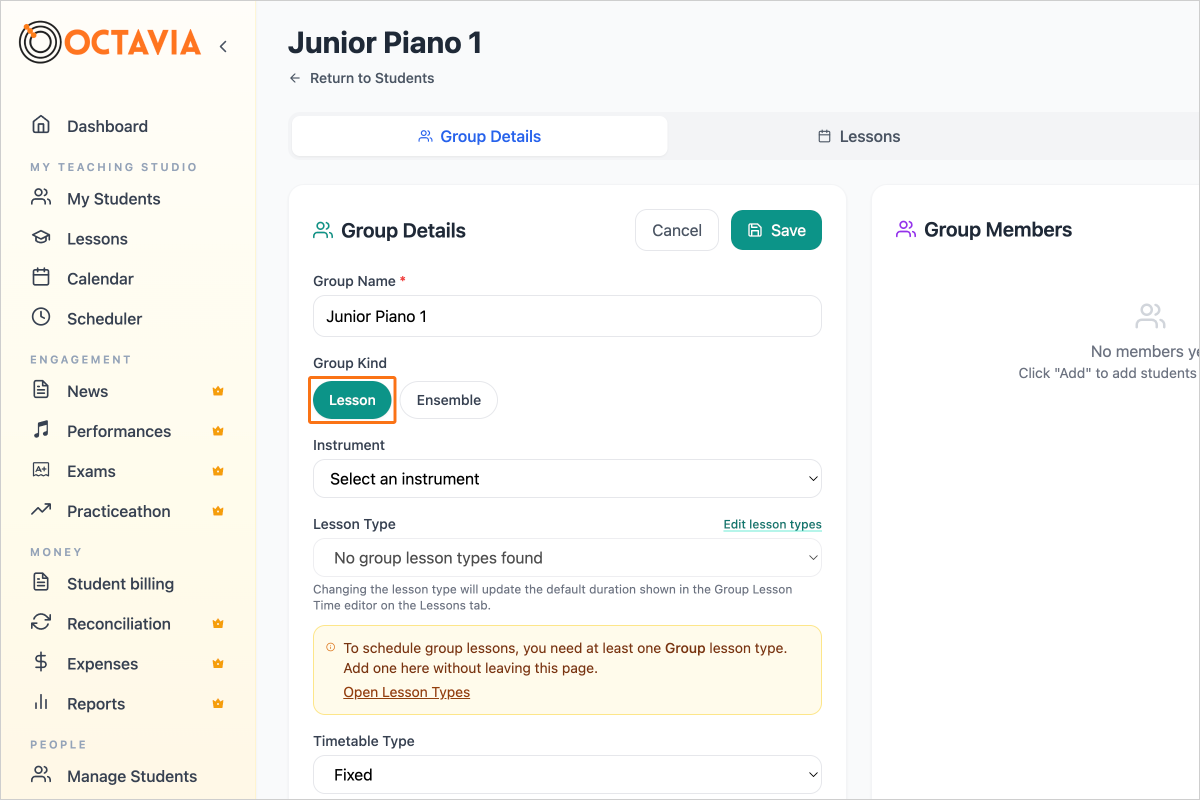
Enter the group name, and select whether the group is a Lesson group or an Ensemble group. (They work in similar ways but show up with different titles in the calendar, so you can tell if it is a lesson or an ensemble rehearsal.)
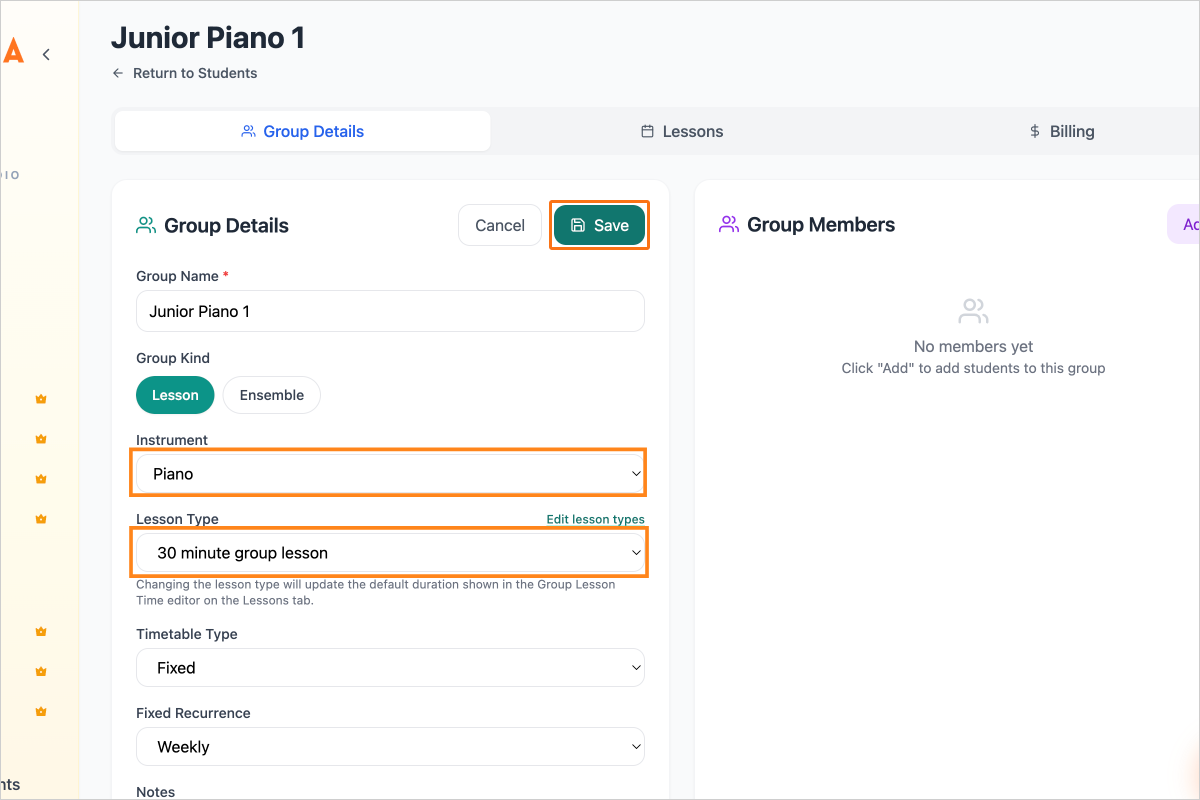
Select the instrument type if it is a lesson group, and select the lesson type, and click "Save"
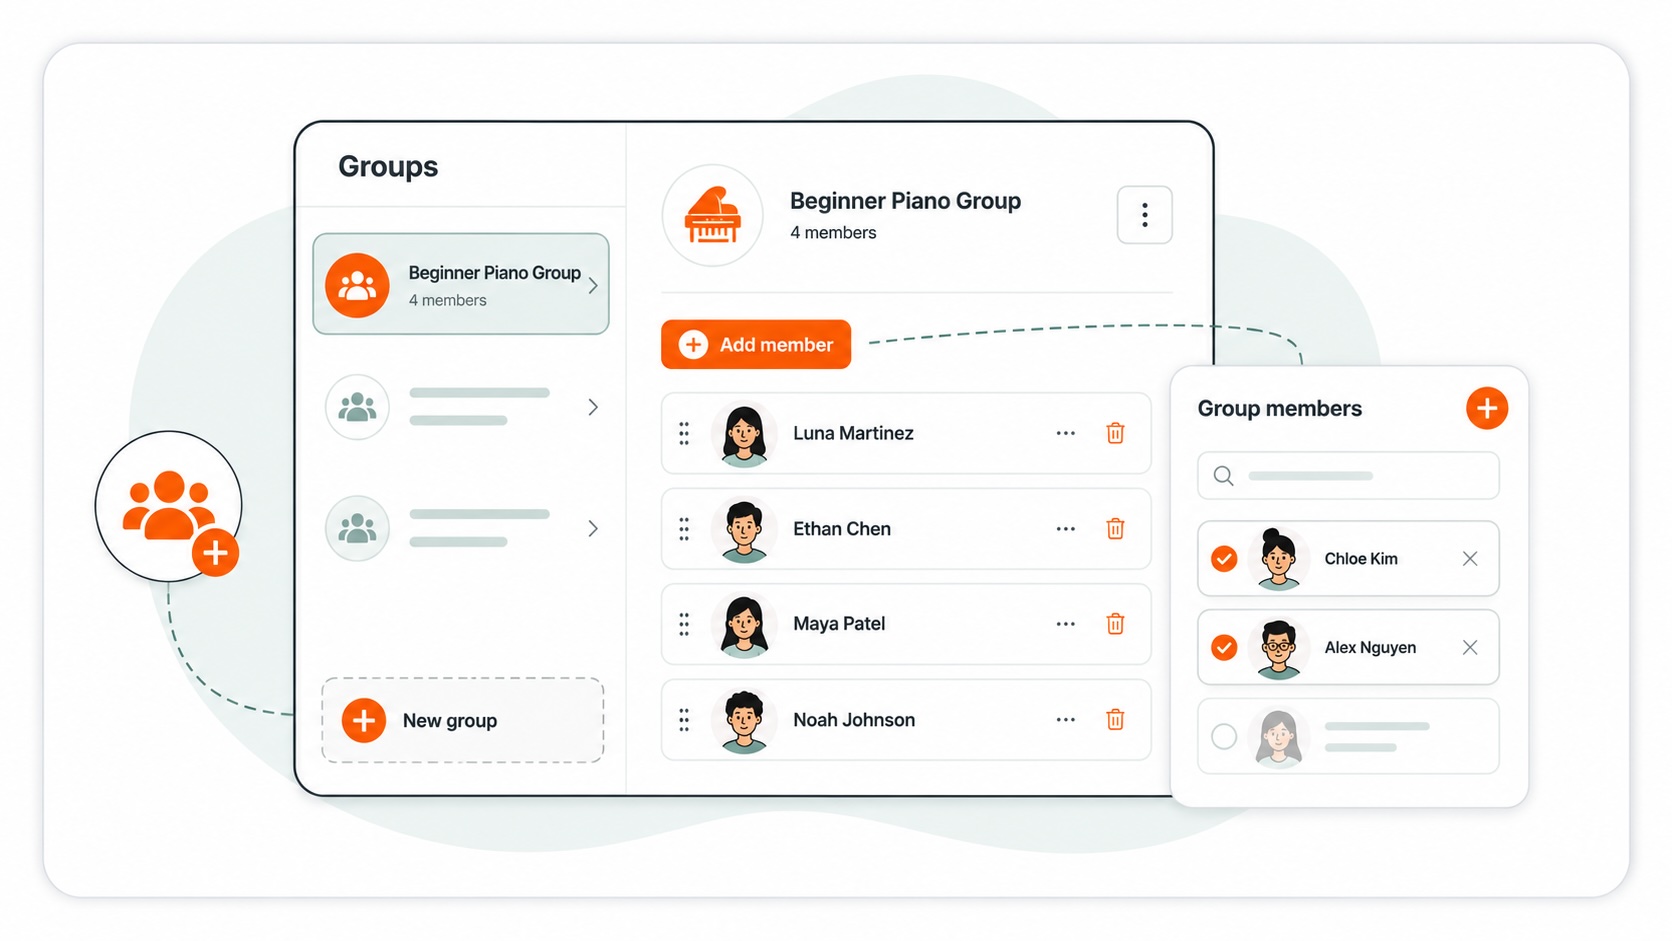
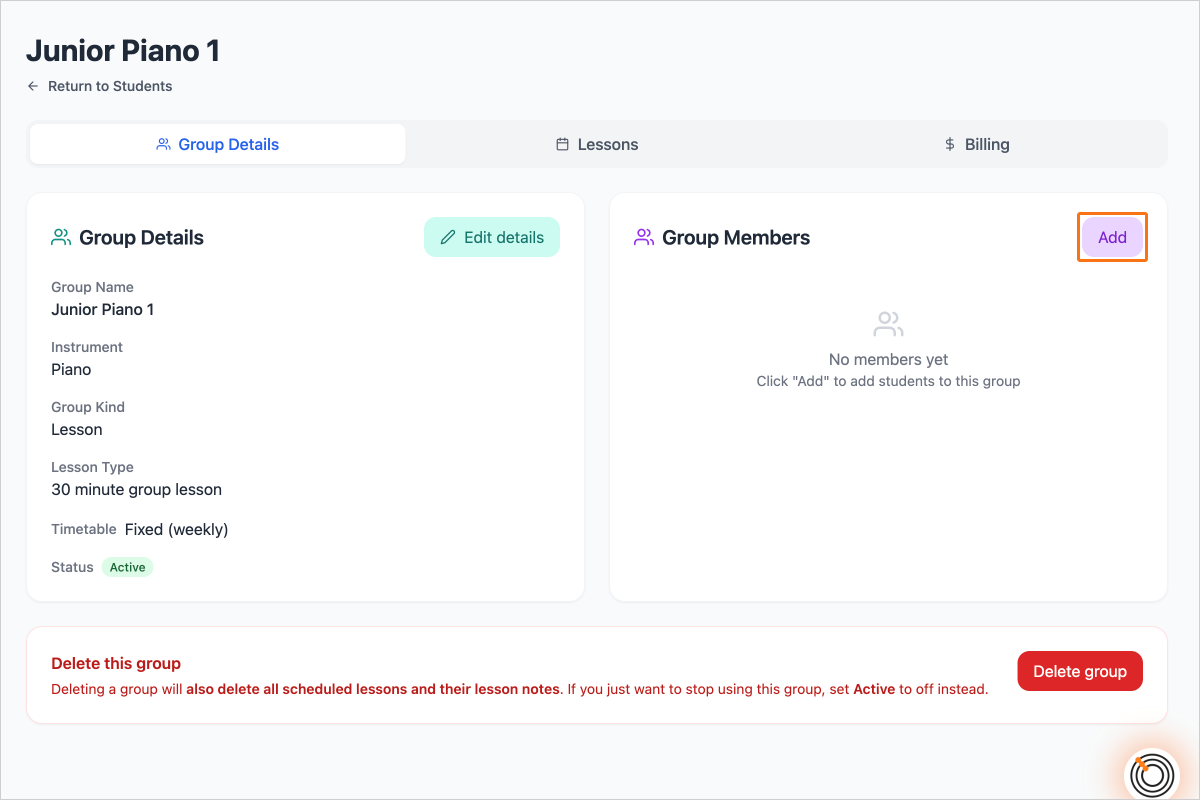
To add students to the group, find the Group Members card on the Group Details tab and click "Add"
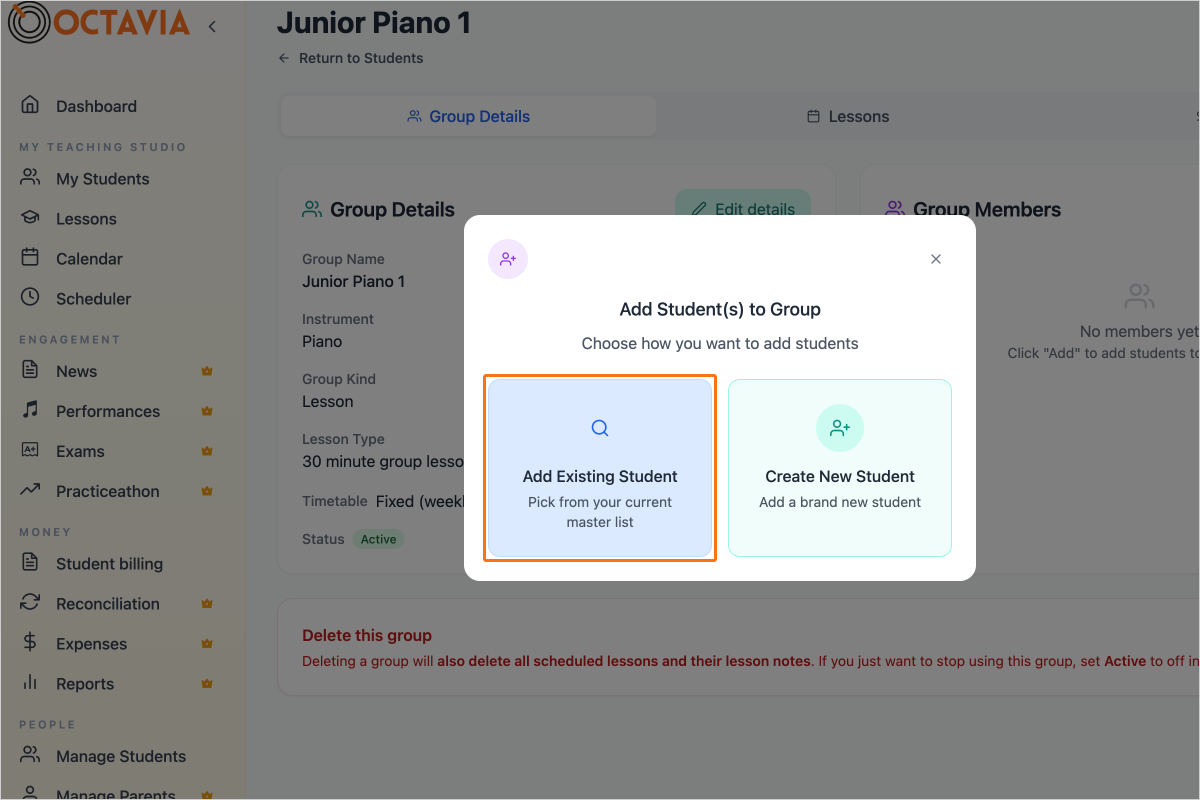
If the student is already enrolled in individual lessons, you can click on the button "Add Existing Student"
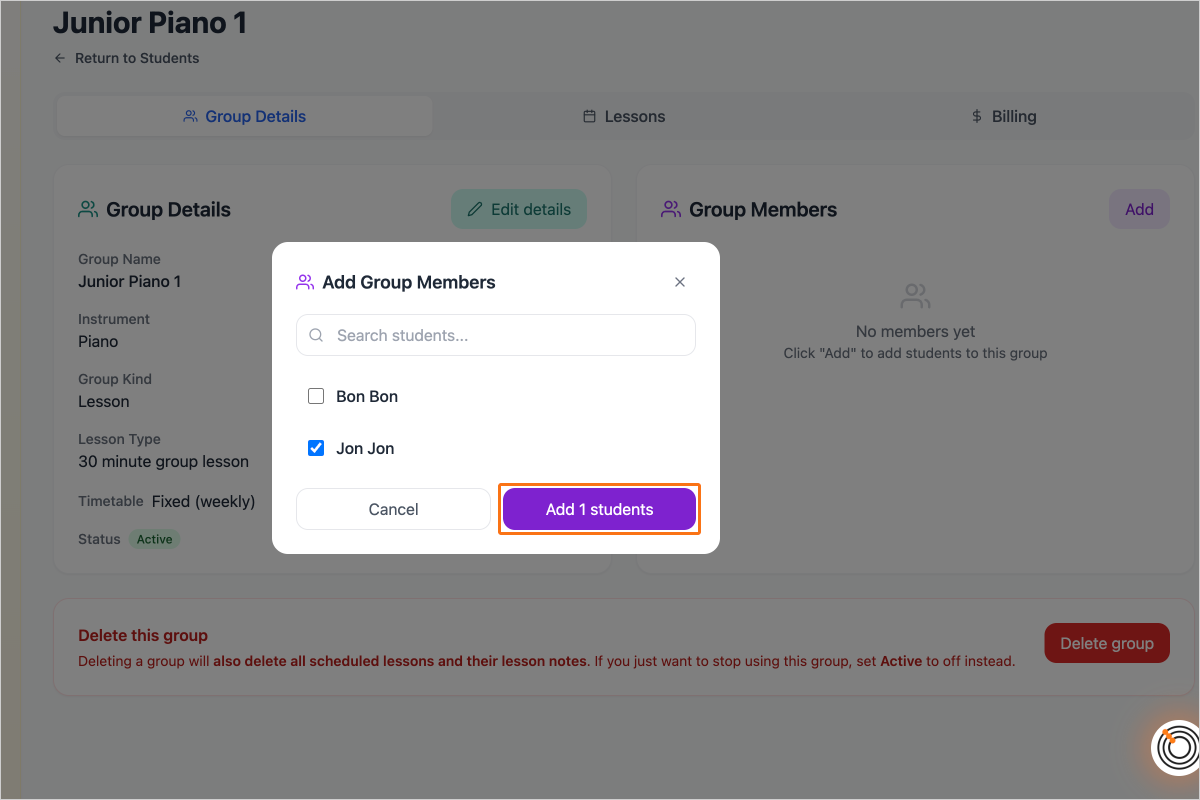
Select the students you would like to add to the group and click "Add students"
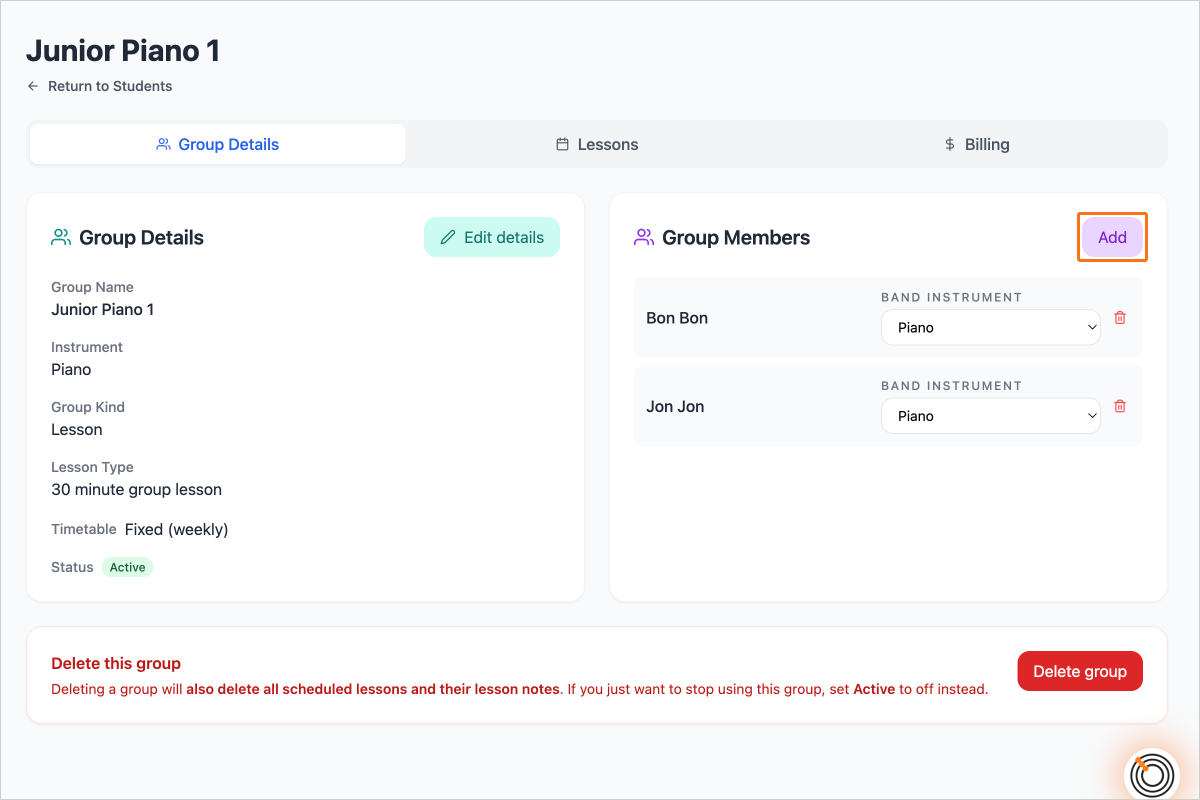
Alternatively, you can add new students to your group by clicking the Add button
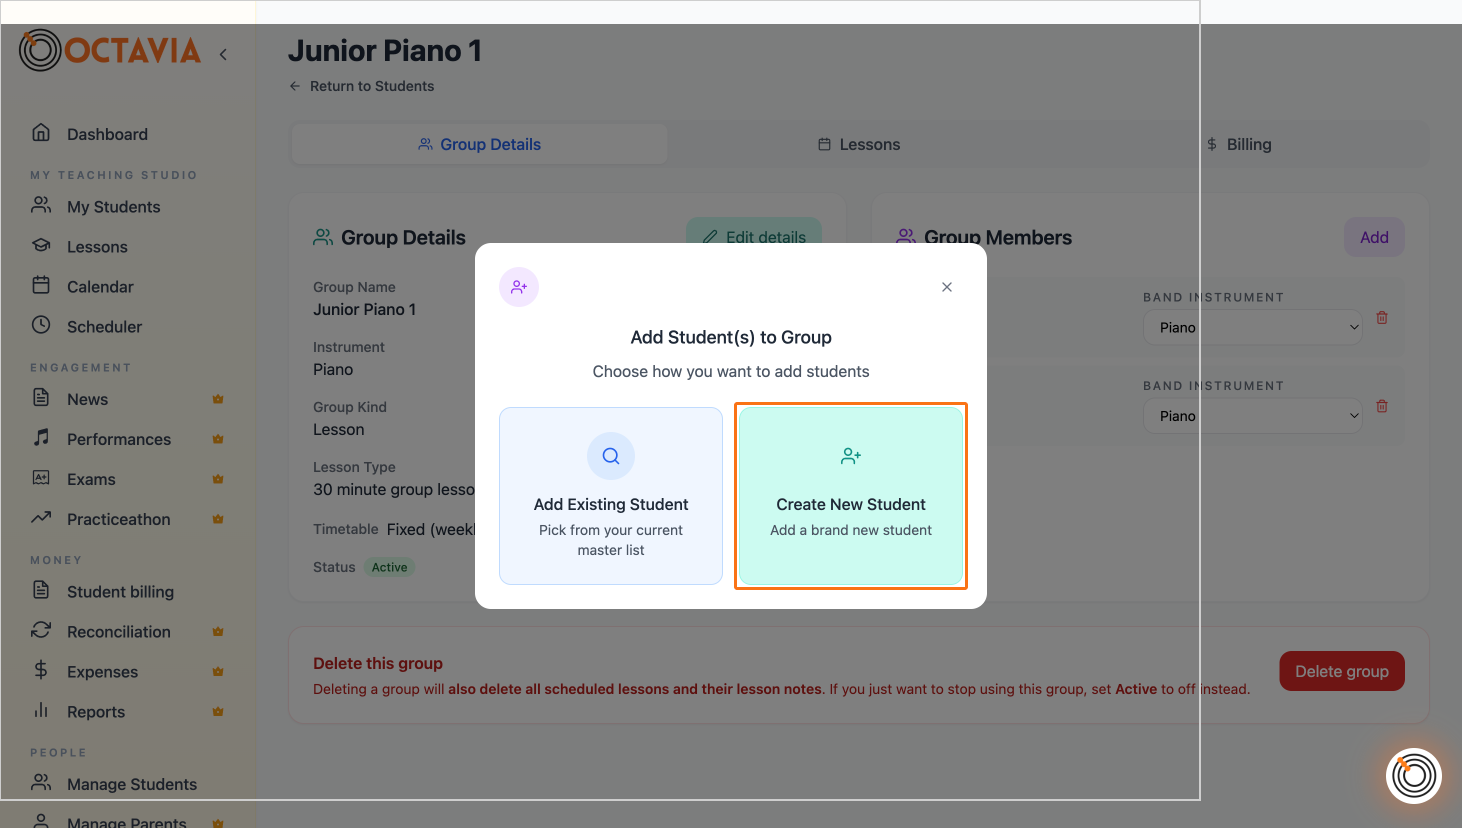
and selecting "Create New Student (Add a brand new student)"
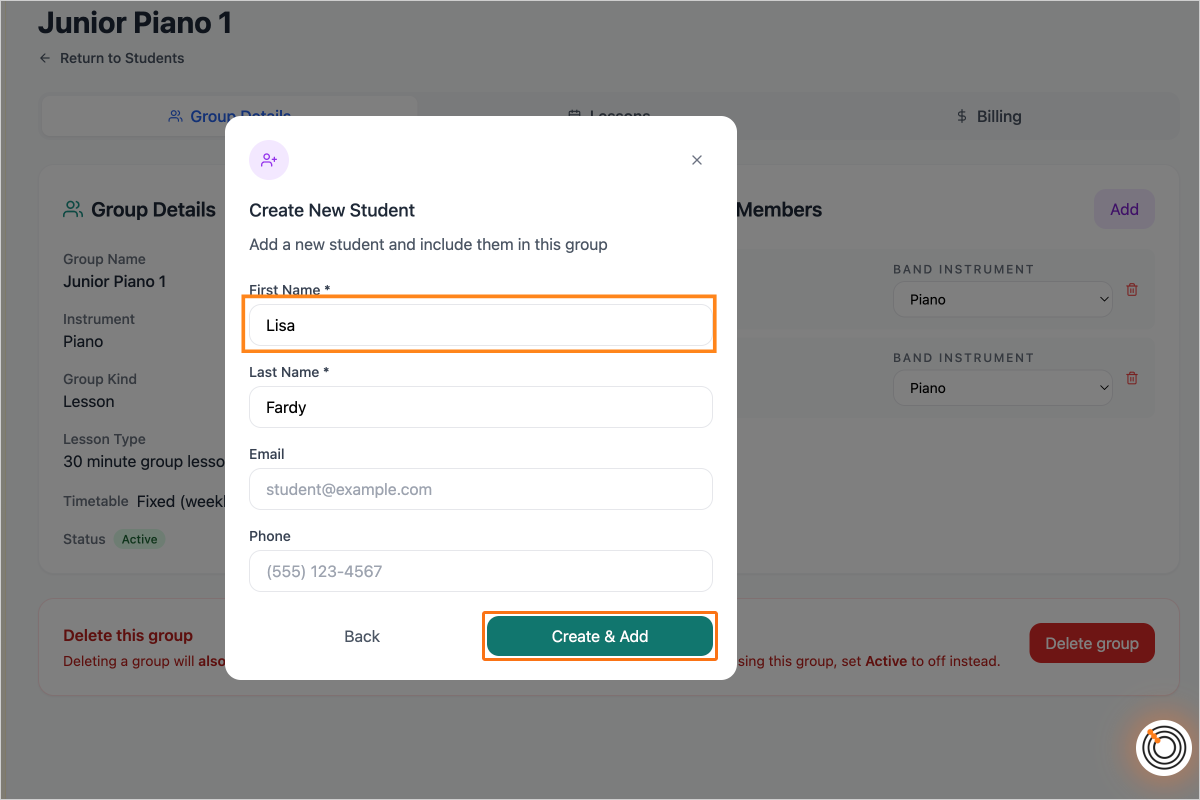
Enter the student's name and click on the button "Create & Add"
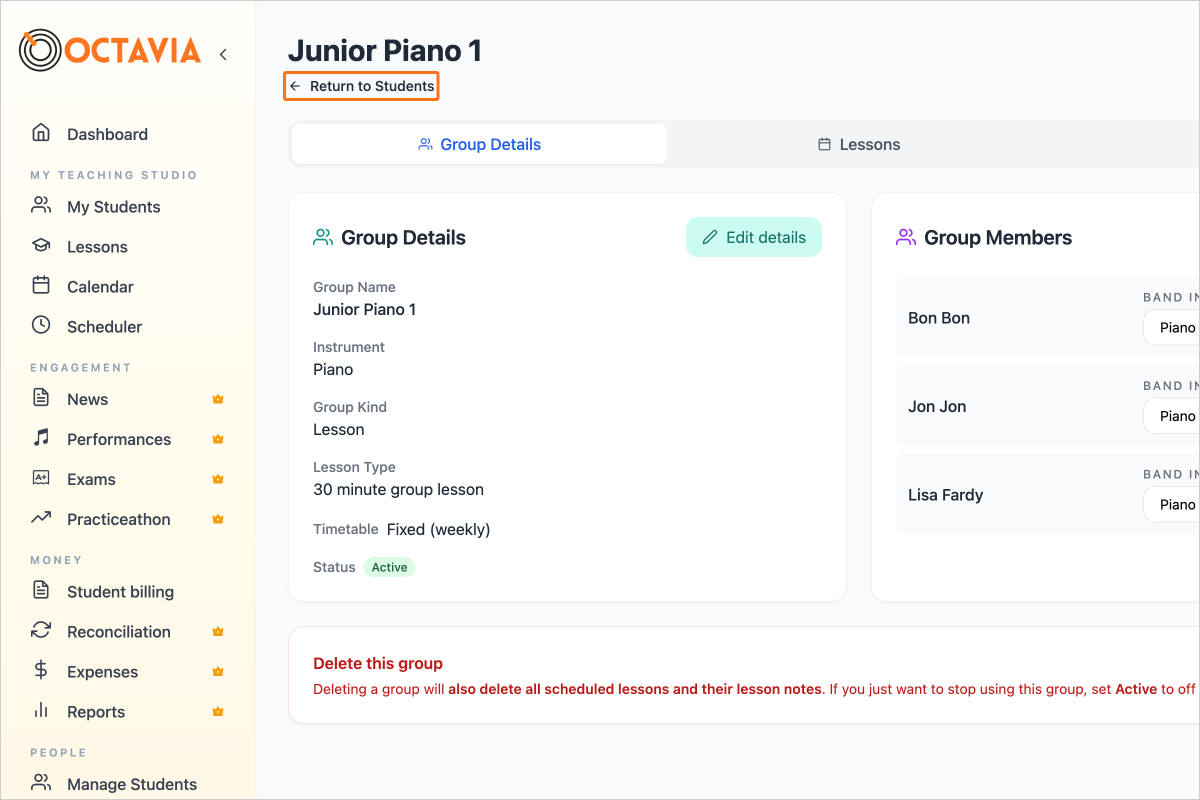
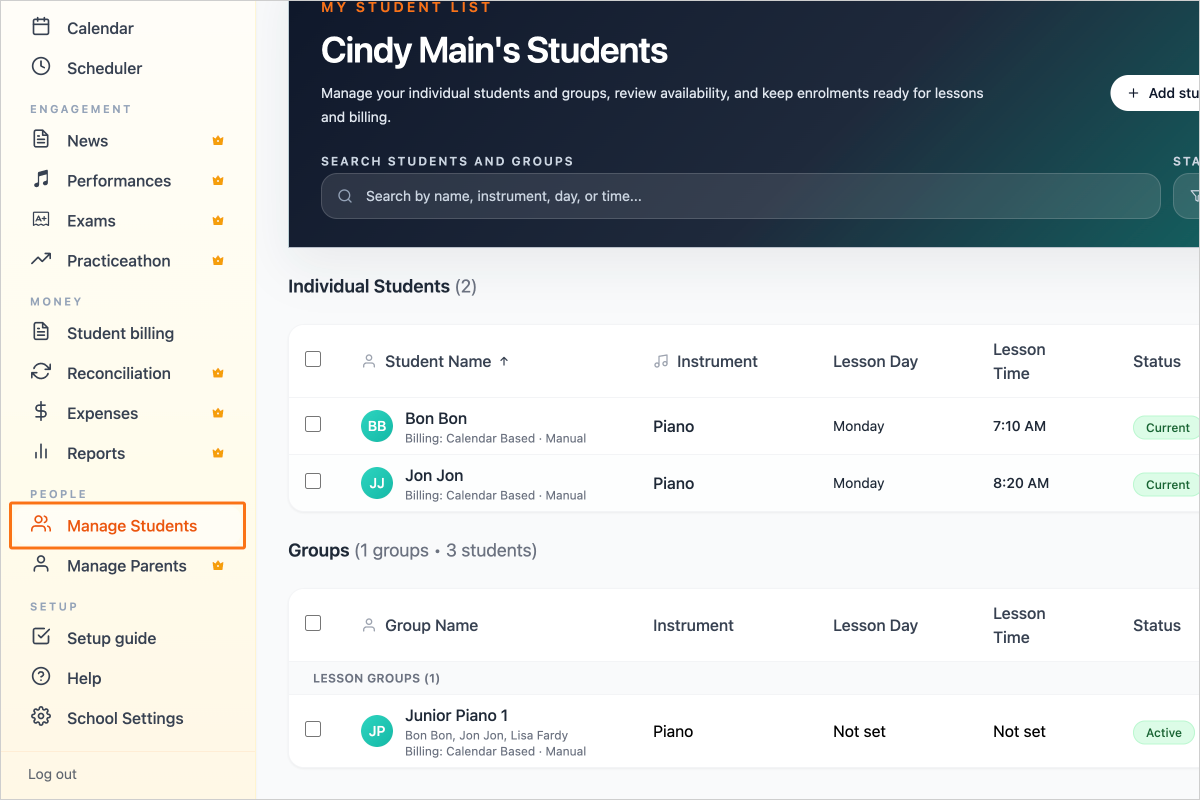
Click on the button "Return to Students" and you will see your new group under your list of Groups
You can also add and remove students from a group by going to Manage Students
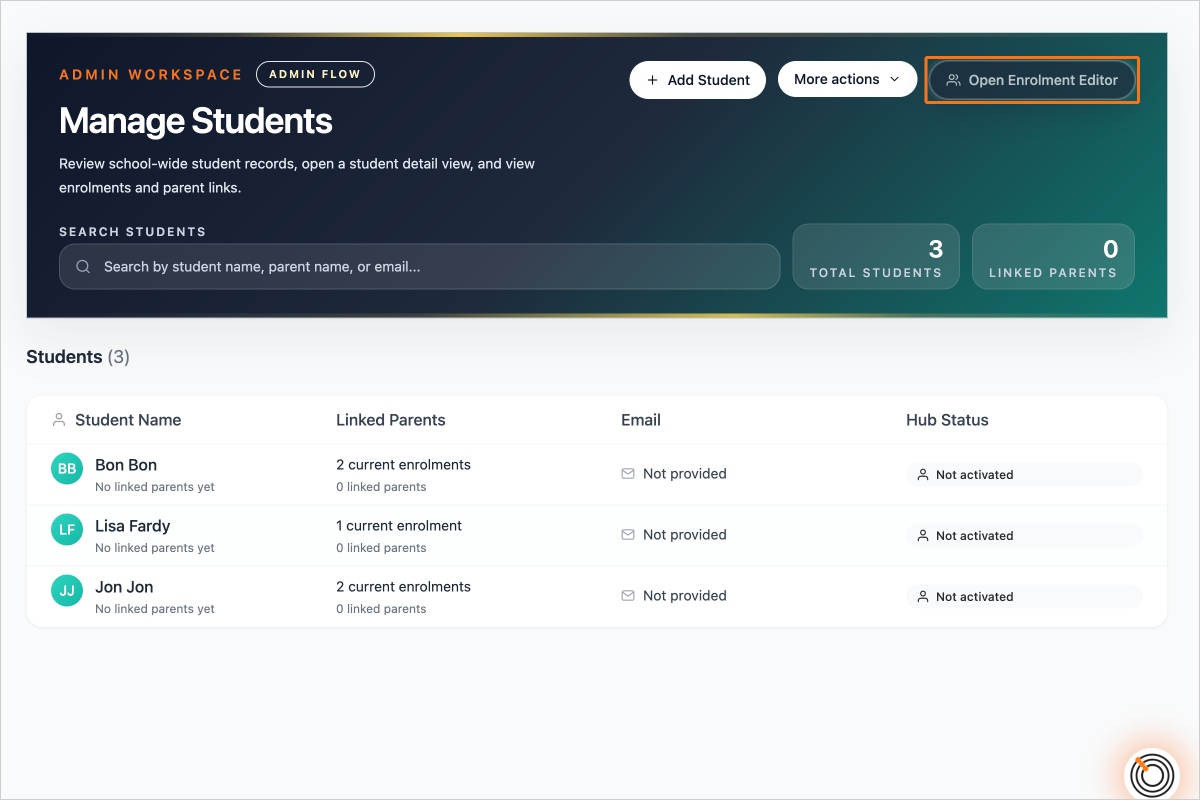
and opening the Enrolment Editor by clicking "Open Enrolment Editor"
Select the teacher who teaches the group
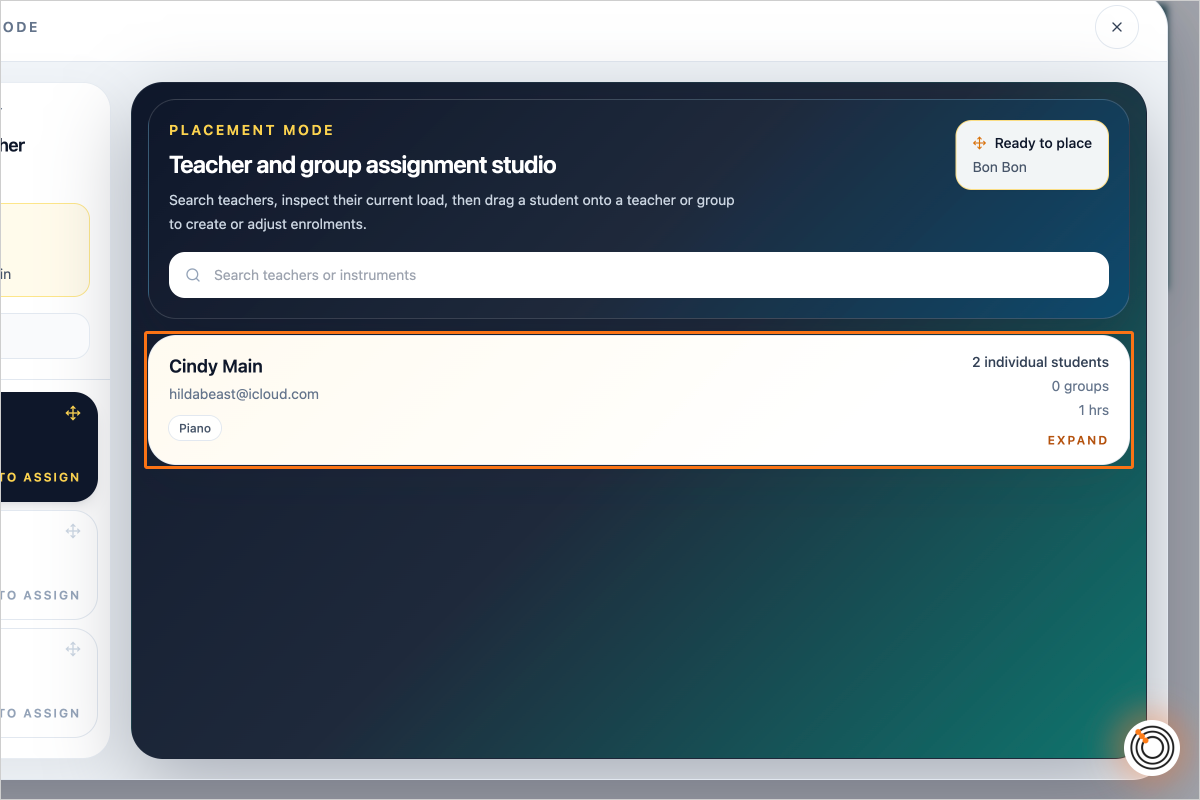
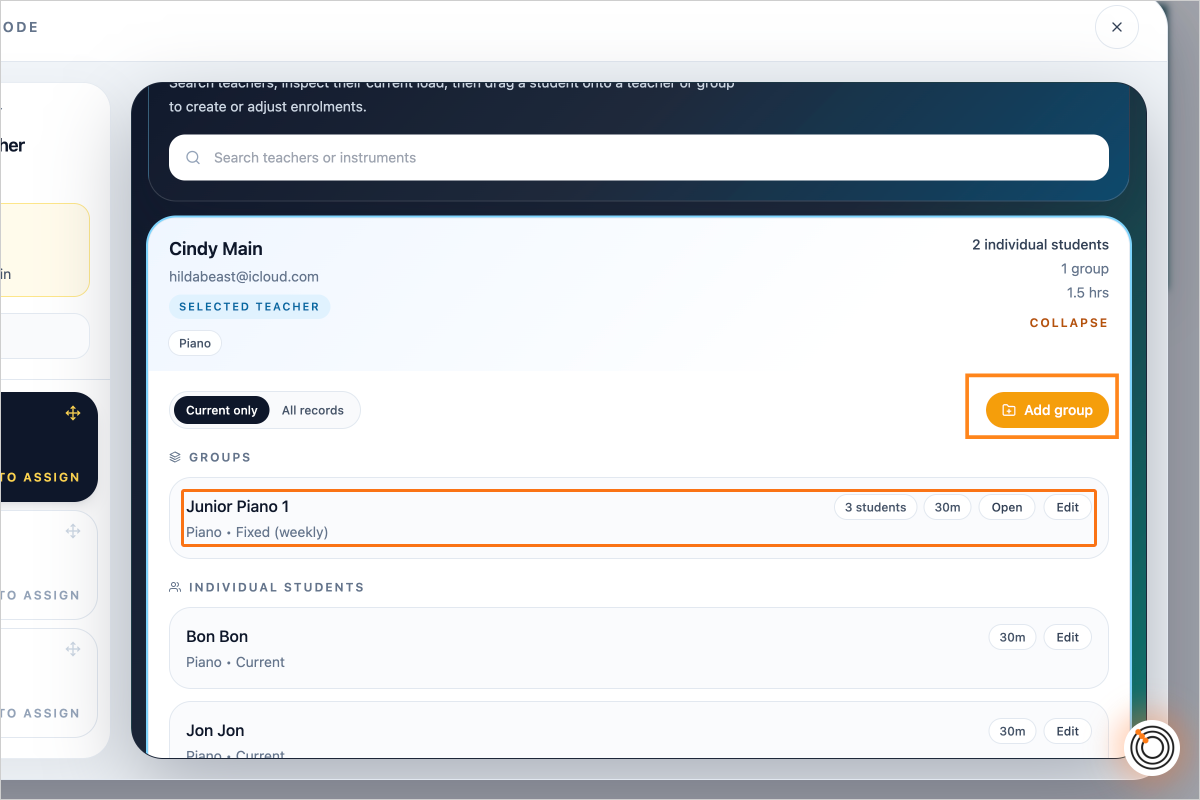
Select the relevant group (or click "Add group" if you wish to add a new group)
Click on the button "Remove" next to a student to remove the student
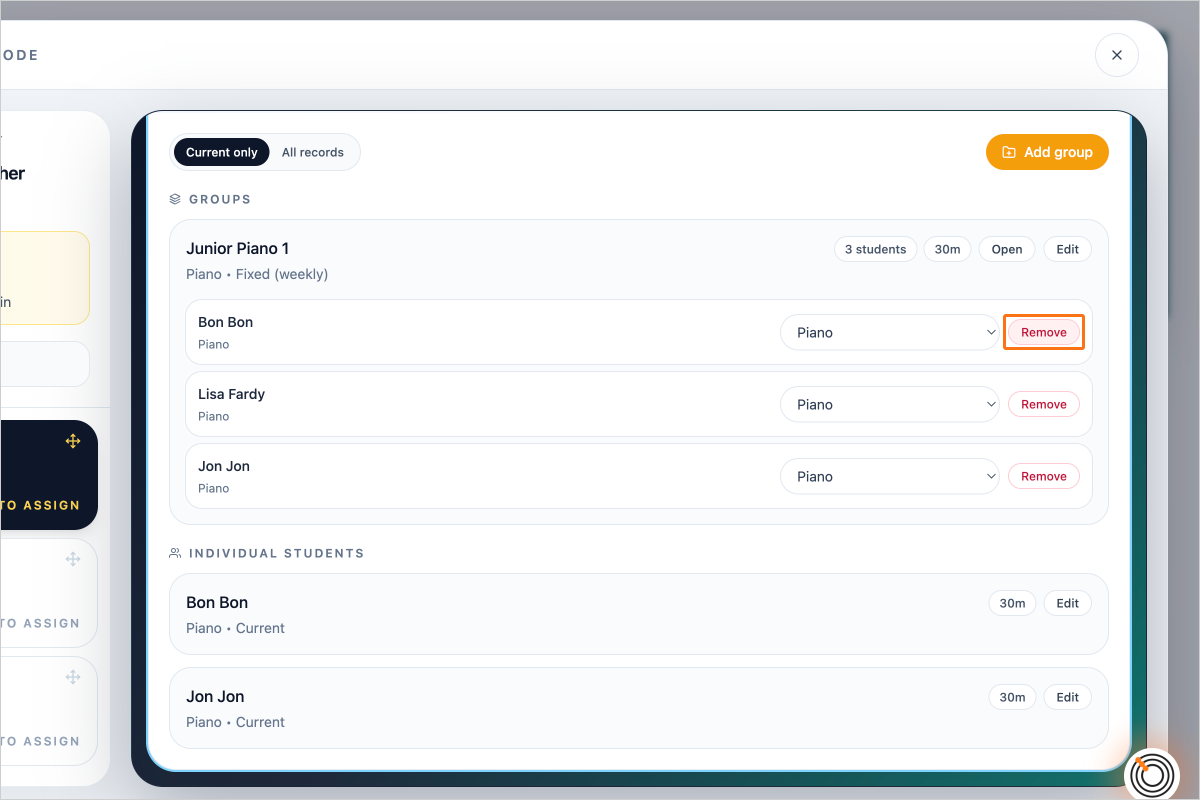
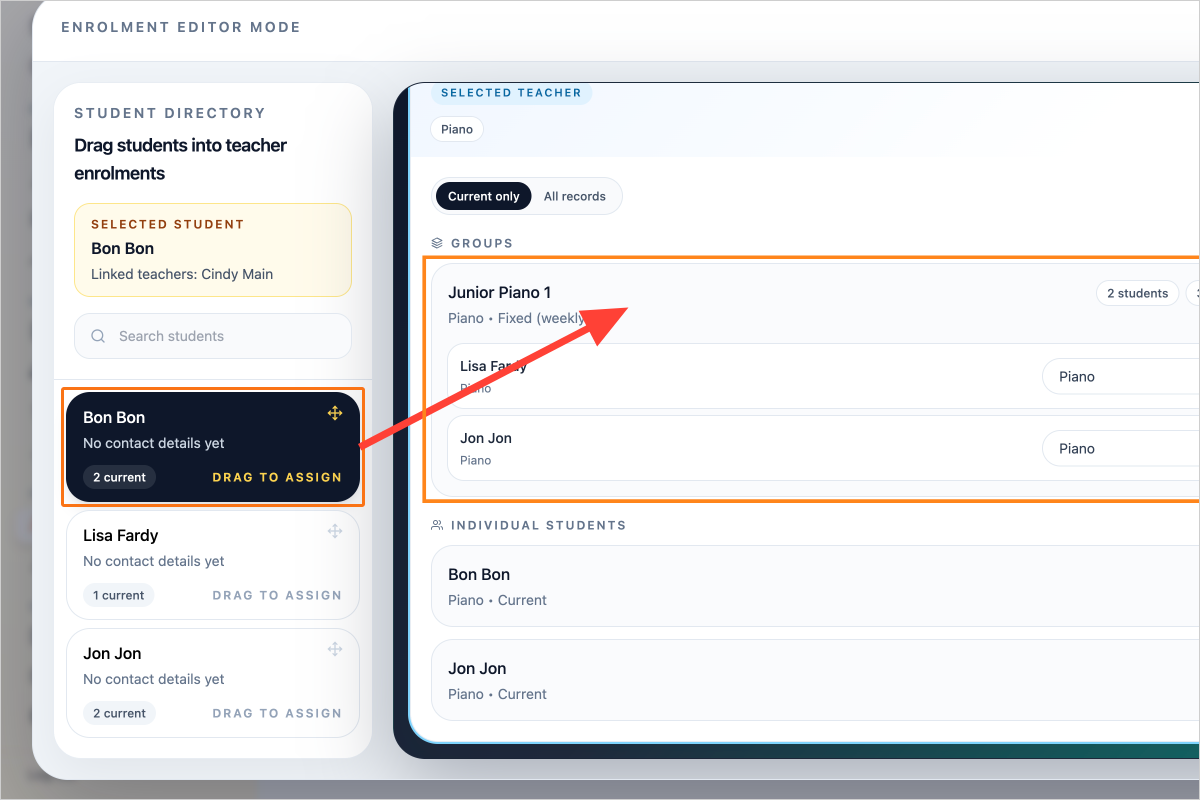
To add a student, select the student from the Student Directory in the left column, and drag them over the group name